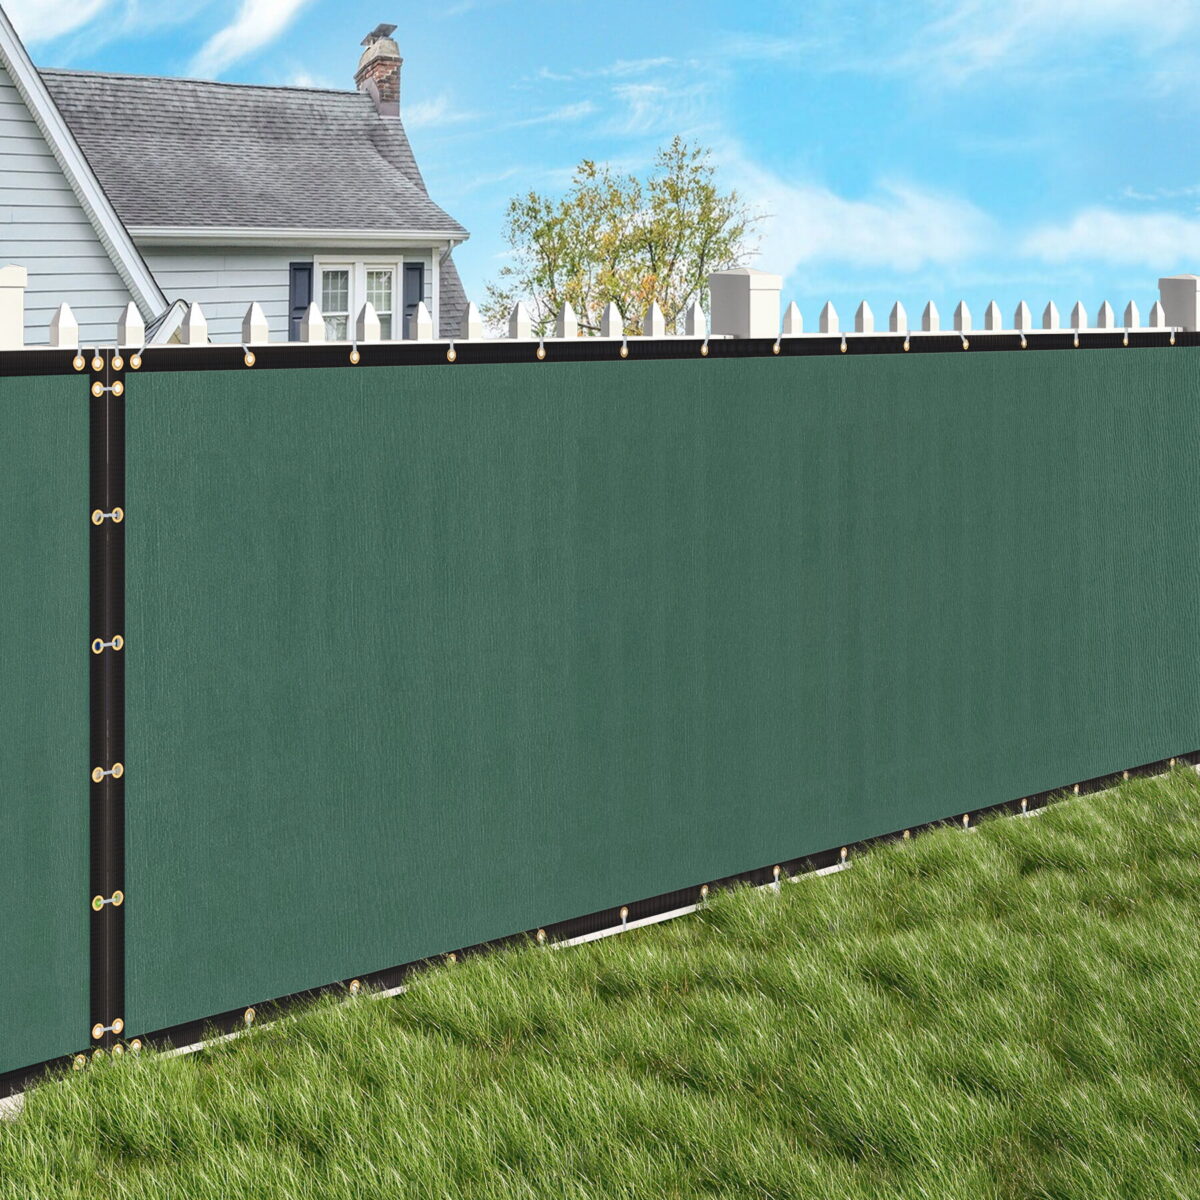
How to install a privacy fence on a wood fence
Christina Guerrero
on
May 9, 2023


Get Your Free Fence Quote Today!
Are you looking for a way to add privacy and a little extra security to your outdoor space? Installing a privacy screen on your wood fence is an effective and efficient solution. It’s simpler than you may think, and the results can be transformative – giving you peace of mind without compromising aesthetic appeal.
We’ll cover all the steps involved in installing a privacy screen onto your existing wood fence. We’ll discuss materials, tools, techniques – everything you need to know so that your project will go as smoothly as possible! Read on to learn more about how this simple solution can create huge benefits right in your own backyard.
Preparing the Area – Measure the FENCE area you’ll be covering with the privacy screen
Before installing a privacy screen, it’s crucial to prepare the area first. Start by measuring the fence where you’ll be installing the screen to ensure that you’re acquiring the right length of materials. Having the exact measurements also allows you to estimate the cost, helping you stay in budget and avoid wasting resources.
Once you have the dimensions, it’s time to get started on the privacy screen installation prep. Make sure that you have all the necessary tools and hardware, such as a screwdriver, a utility knife, a hammer, gloves, screws, and nails. This ensures that you’re ready to go when it’s time to put up the screen. Proper preparation guarantees a seamless installation process and ensures that your privacy screen will be sturdy and secure for years to come.
Cutting and Installing the Screen to size and attach it to your wood fence
1. Take the measurements of your wood fence and mark those measurements on the privacy screen material using a measuring tape.
2. Cut the fabric to size with a sharp utility knife.
3. Securely attach the privacy screen material to your fence with nails or screws along all sides, making sure that it’s taut and secure.
4. Add finishing touches, such as adding tie downs, decorative trim or paint to your privacy screen project.
5. Enjoy the extra privacy that you have just created with your newly installed privacy screen fence!
Once fitted, a well-installed privacy fence should last for years with minimal maintenance required other than occasional cleaning of dust
Remove any tools, debris, and extra material left over from the fence privacy screen installation
Take care to dispose of the material responsibly. If you’re using a sharp knife to cut any excess material, make sure that it is safely stored away when you are done. Always be mindful of safety when working with power tools or sharp objects like a knife.
Finally, enjoy your newfound privacy! Your new fence privacy screen will help protect you from prying eyes and give you peace of mind when relaxing in your backyard. It will also make it easier to contain pets or kids who may be playing in the backyard as they won’t be able to wander off too far.
Maintenance Tips for a Privacy Fence Screen
Though a privacy fence screen is designed to last for many years, it still requires some maintenance and care. To keep your privacy fence screen in top condition:
• Make sure to regularly clean the surface of the fence with an appropriate cleaner. This will help prevent dirt and debris from accumulating on your screen over time.
• Check for loose nails and screws and make sure to tighten or replace them as needed.
• Inspect the fence periodically for signs of damage, such as cracks or breaks in the material. If you notice any damage, take steps to repair it immediately.
• Apply a protective coating every few years to help protect your privacy fence screen from UV rays and other elements.
• Trim any overgrown plants or shrubs near the fence to maintain a neat appearance and keep the screen free from obstruction.
Overall, installing a privacy screen on your wood fence is a fairly straightforward process. However, it’s still important to make sure you carefully prepare the area and have all the necessary materials on hand before you begin. Remember to double check measurements for accuracy and take care when cutting and attaching the screen.
To ensure the longevity of the screen secure everything tightly with nails or screws. Finishing touches such as hooks or latches will help secure the screen and give your fence a tidier appearance. When you are done, remember to clean up any debris left behind to avoid any safety hazards.
Also, don’t forget to maintain your privacy screen regularly by checking for signs of damage such as mildew growth or rotting wood. Following these tips should keep your new privacy screen looking like new for many years to come!
- Category: Uncategorized

 FREE ESTIMATE NOW