
Best Practices for Staining Wood Fences: How to Keep Your Fence Protected and Beautiful
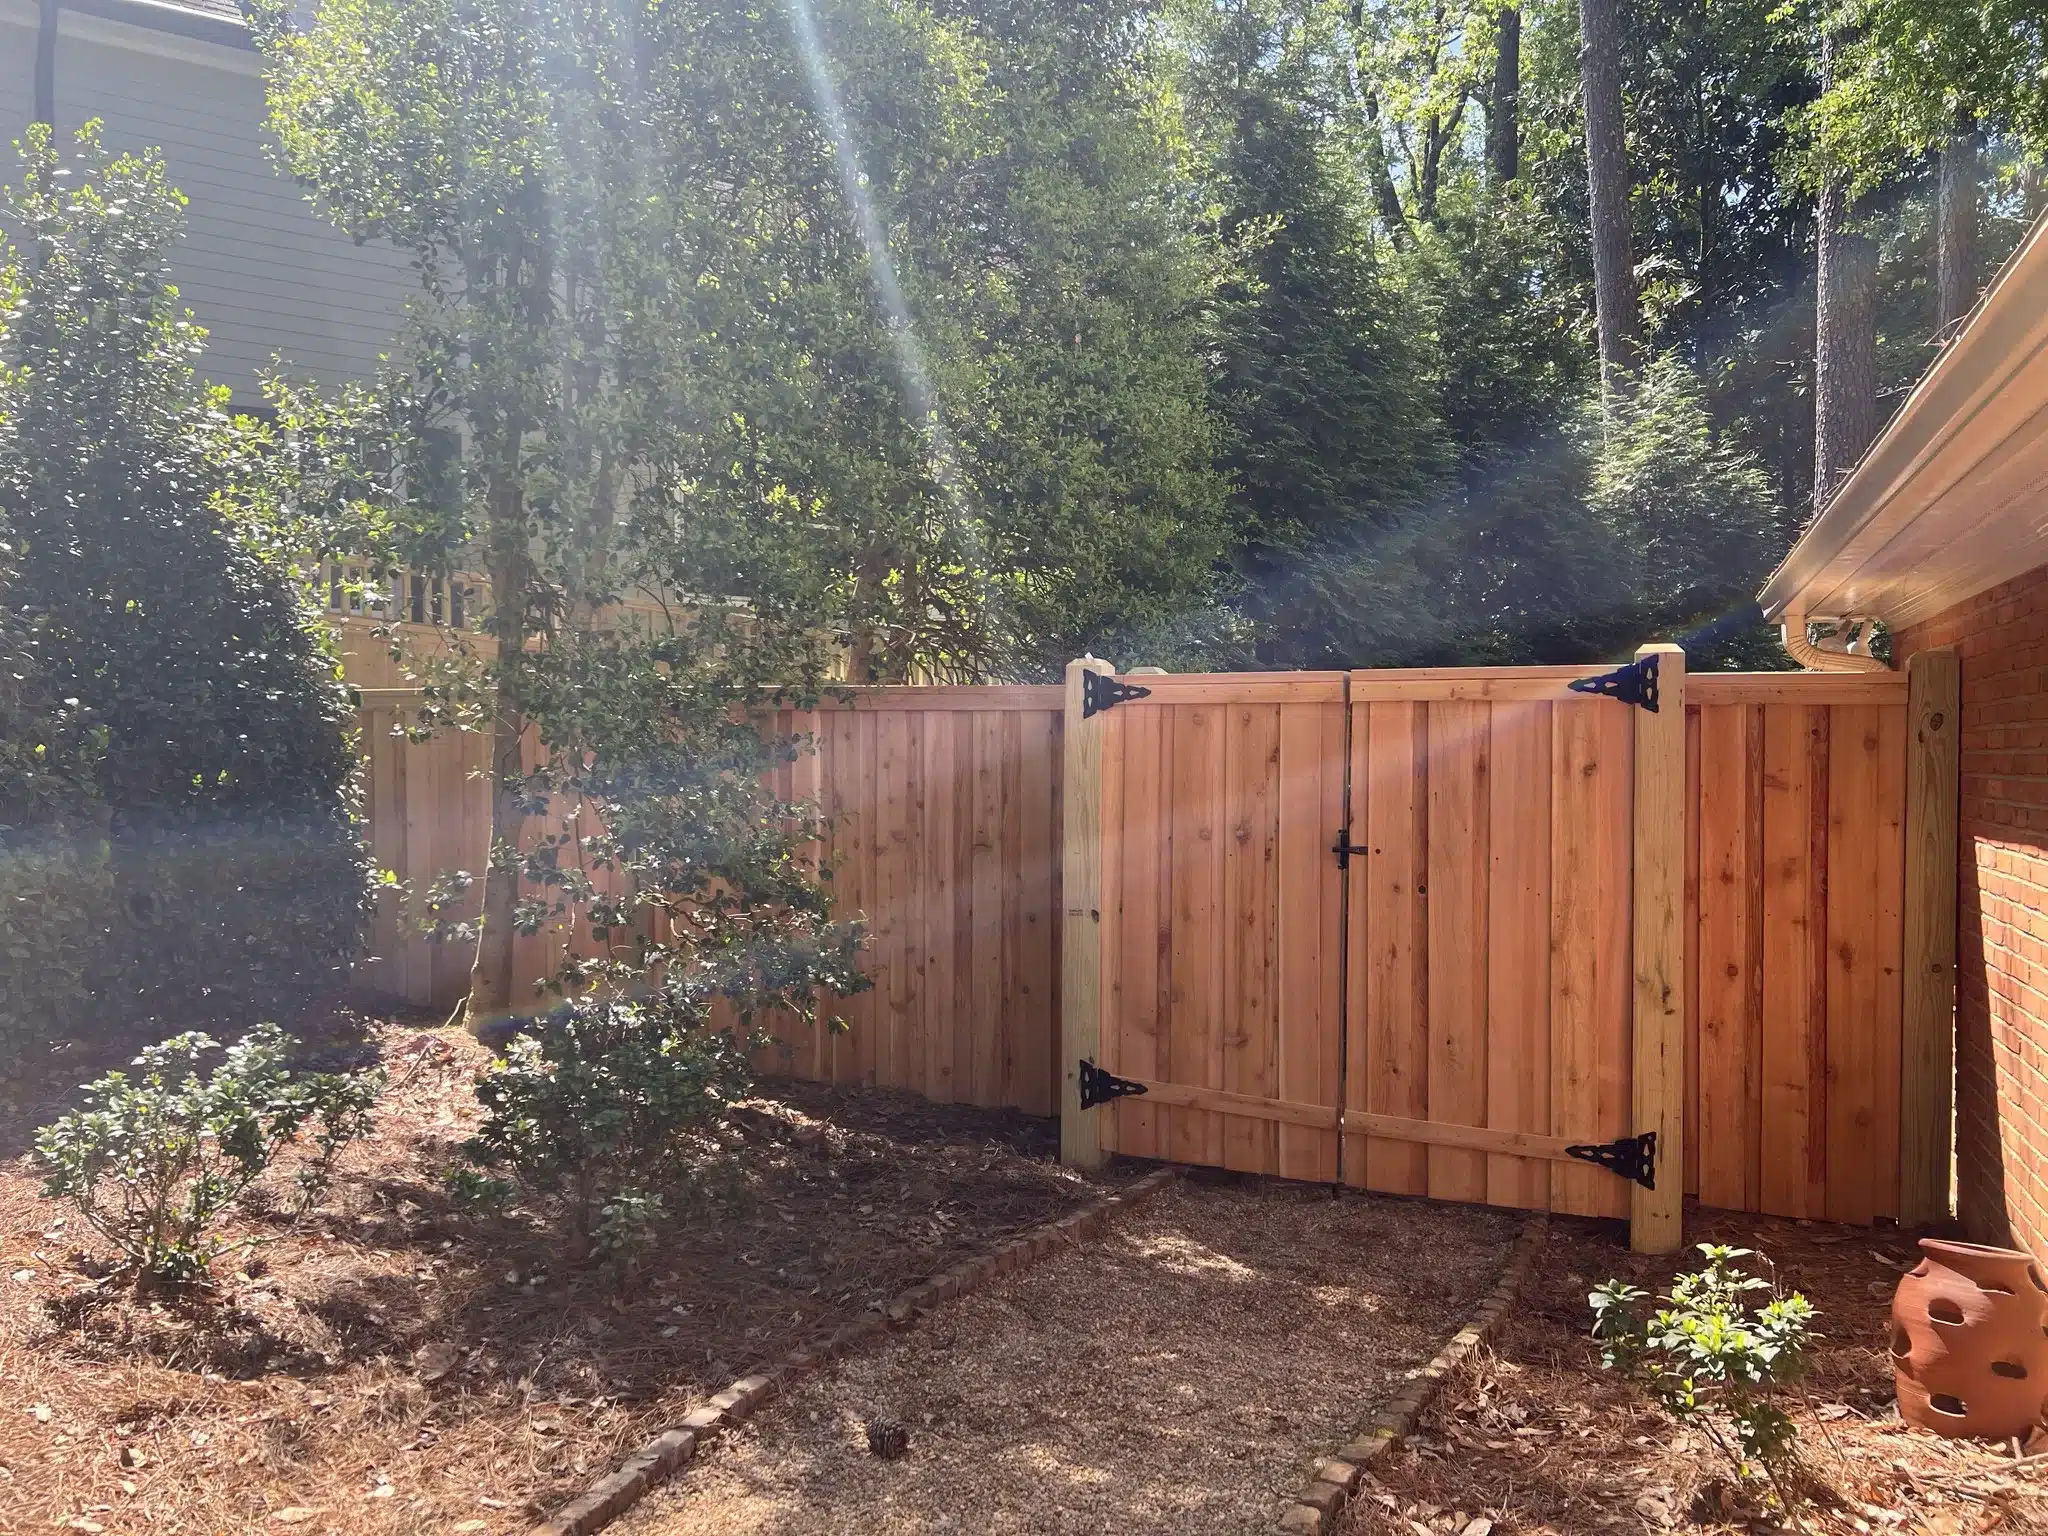
Staining your fence is one of the best ways to protect it from Atlanta's sun, humidity, and rain while keeping it looking fresh. With the right approach, you can highlight the natural beauty of the wood and extend the life of your fence for years. Understanding the best practices for staining wood fences ensures you get professional-quality results, whether you're doing it yourself or planning your next maintenance project.
Here's a complete guide to preparing, staining, and maintaining your fence so it stands strong through every season.
How Do I Prepare My Wood Fence for Staining?
Clean the surface thoroughly, allow 24-48 hours for complete drying, and repair any damage while lightly sanding rough areas. Proper preparation ensures even stain absorption and a long-lasting finish.
Good preparation sets the foundation for a successful staining job. Before you begin, take time to clean and inspect your fence thoroughly.
1. Clean the Surface:
Use a mild detergent and water or a wood cleaner to remove dirt, mildew, and residue. For older fences, a pressure washer set to low can be helpful, but keep the nozzle at least 12 inches away to avoid damaging the wood. A clean surface helps the stain penetrate evenly.
2. Let It Dry Completely:
After washing, allow at least 24 to 48 hours for your fence to dry. Staining damp wood can trap moisture, leading to peeling and uneven color. Test by sprinkling a few drops of water on the surface. If it absorbs within seconds, the fence is ready for staining.
3. Repair and Sand:
Inspect for loose boards, nails, or rough patches. Replace or secure damaged pieces, and lightly sand any splintered areas to create a smooth finish. This step ensures better stain absorption and prevents patchy results.
Preparation takes time, but it’s what separates a quick fix from a long-lasting finish.
What Type of Stain Should I Choose for My Wood Fence?
Choose between oil-based stains for deep penetration and weather resistance, or water-based stains for faster drying and easier cleanup. Select transparency levels based on whether you want to show natural grain or maximize UV protection.
Selecting the right stain is as important as the application itself. The type of stain you choose affects both the look and the level of protection your fence receives.
Oil-Based vs. Water-Based Stains:
- Oil-based stains penetrate deeply and provide strong weather resistance, ideal for Atlanta’s changing climate.
- Water-based stains dry faster and are easier to clean up but may require more frequent reapplication.
Transparency Levels:
- Transparent stains show the natural grain of the wood but offer minimal UV protection.
- Semi-transparent stains balance appearance and protection, making them popular for most wood fences.
- Solid stains provide maximum coverage and UV resistance but hide the natural wood grain.
Choose a color that complements your home and landscape. Lighter tones reflect heat and resist fading, while darker shades add richness but may show wear faster.
If you’re unsure, test a small section first to see how the color looks once dry. The goal is to enhance your fence’s character while ensuring it’s well-protected against the elements.
How Do I Apply Fence Stain Evenly and Effectively?
Use a brush for precision, roller for speed, or sprayer for large areas. Work in sections following the wood grain, maintain a wet edge, and apply one to two coats as recommended.
Once your fence is clean, dry, and prepped, it’s time to apply the stain. The method you use can impact both appearance and durability.
1. Tools for Application:
- Brush: Ideal for precision and small areas, helping work the stain deep into the grain.
- Roller: Covers wide boards quickly but may miss edges or corners.
- Sprayer: Great for large fences but requires even, controlled passes and masking nearby areas to avoid overspray.
Many homeowners use a combination of tools for rolling or spraying broad surfaces and brushing edges or detail work.
2. Work in Sections:
Apply the stain in manageable sections of three to four boards at a time. This prevents lap marks and ensures consistent coverage. Always follow the wood grain for a natural look.
3. Maintain a Wet Edge:
Keep a continuous wet edge while applying stain so it blends smoothly between sections. If you let areas dry too quickly, they can appear uneven.
4. Number of Coats:
Most fences need one to two coats depending on the type of wood and the product used. Always check the manufacturer’s instructions for drying times and recoat recommendations.
What Are the Best Timing and Weather Conditions for Staining?
Stain on mild days between 50°F and 85°F with low humidity, working in shade to avoid direct sunlight. Ensure no rain is forecast for 24 hours after application. In Atlanta, late spring or early fall offers ideal conditions.
The right timing and weather conditions are key to achieving a lasting finish. Staining in the wrong environment can lead to peeling, uneven color, or poor absorption.
- Temperature: Aim for a mild day between 50°F and 85°F. Avoid extremely hot or cold weather.
- Humidity: Choose a day with low humidity for faster drying and better stain adhesion.
- Shade: Direct sunlight can cause stain to dry too quickly. Work in shaded areas when possible to avoid streaking.
- Rain: Ensure there’s no rain in the forecast for at least 24 hours after staining.
In the Atlanta area, late spring or early fall is usually ideal. During this time, temperatures are moderate, and the humidity is more manageable. If you stain in summer, try to work in the morning or early evening when it’s cooler.
How Do I Maintain and Re-Stain My Fence for Long-Term Protection?
Rinse your fence once or twice yearly, inspect annually for fading or damage, and reapply stain every 2-3 years. Pay special attention to board tops and south-facing sections that receive more sun exposure.
A well-stained fence can last several years before needing another coat, but light maintenance helps preserve its look and strength between full applications.
- Clean Regularly: Rinse your fence with water once or twice a year to remove dirt and pollen buildup.
- Inspect Annually: Check for fading, cracking, or exposed wood fibers. Touch up these areas as needed.
- Reapply Stain: Plan to restain every 2–3 years depending on your stain type and sun exposure. South-facing fences in Atlanta’s bright climate may need more frequent attention.
- Seal the Ends: The tops of boards absorb the most moisture. Make sure they’re well-sealed to prevent rot.
Regular upkeep keeps your fence vibrant, prevents decay, and saves money on future repairs or replacements.
A Well-Stained Fence Adds Lasting Value
Staining your wood fence doesn’t just improve its appearance. It’s one of the most effective ways to protect your investment. With proper preparation, the right materials, and attention to timing, your fence can stay beautiful and strong through every Georgia season.
Whether you’re tackling the project yourself or seeking professional help, Chamblee Fence Company is here to assist. Our experts can guide you through the staining process, recommend the best products for local conditions, or handle the job for you with precision and care.Contact Chamblee Fence Company today for a free consultation and estimate. Keep your fence looking its best with help from Atlanta’s trusted fencing professionals.